We all know how frustrating a slow website is. And we also know how easy it is to leave a website and look for something better. In fact, a slow loading time is one of the top reasons why people bail out on a website.
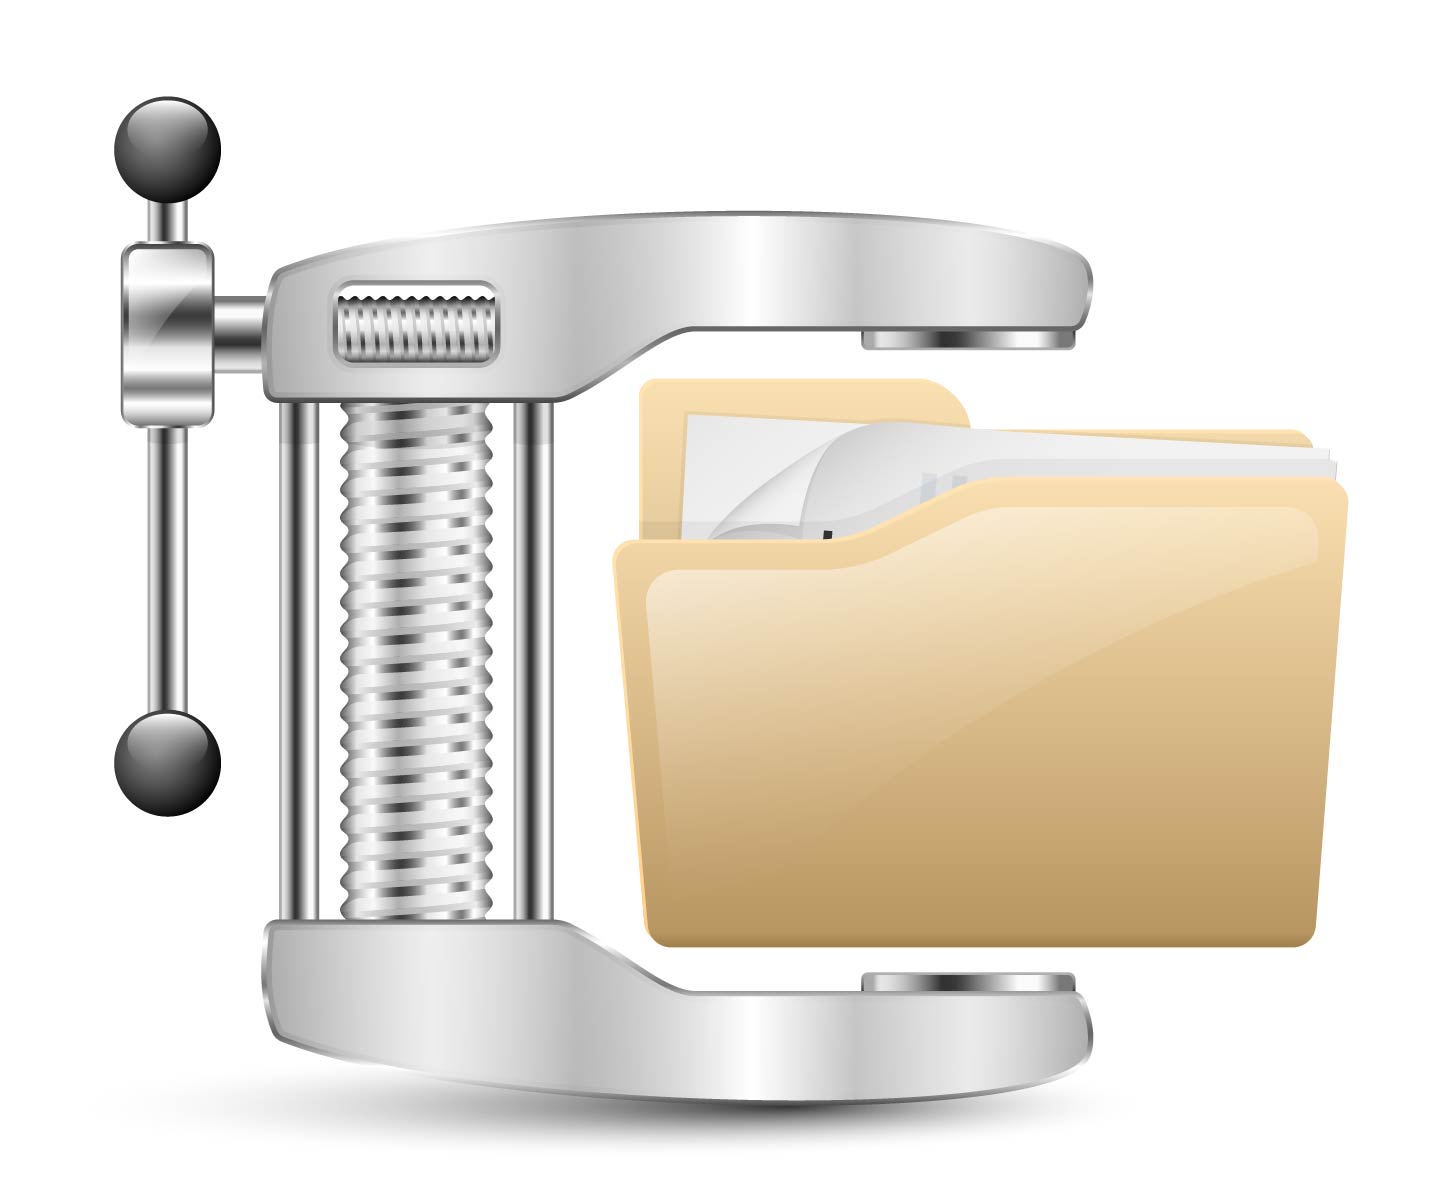
If you’re building a site, or notice that your current site could use a kick-start, you need to consider image compression. Images have a lot to do with the speed of a site, so they need a little work before they go up.
Good imagery is also crucial to maintaining a good looking site, and this has become increasingly important. Many people think that manipulating an image will diminish its quality, but this isn’t necessarily true.
Let’s drill down into how to compress pictures so you can start optimizing your website for faster speeds.
What Exactly is Image Compression?
A common misconception is that compressing an image means you’re reducing the size. This isn’t the case. The dimensions remain the same.
What’s actually happening is the data that’s embedded in the image gets removed. There’s also a reduction in the resolution, which makes for a smaller file size. Smaller files sizes result in faster website performance.
When learning how to compress pictures for your website, it’s important to get a good balance between the quality and the file size.
Remember, an image on a website doesn’t have to be the highest quality possible. It just needs to look sharp within the overall design. The website for Poms & Associates is a good example of how sharp imagery makes a website pop.
Get to Know Your Formats
There are several different image formats and you’ve likely come across all of them. Each one affects the way an image is compressed and how easy it is to work with.
It’s a good idea to educate yourself on each one. Let’s break them down.
JPEG
The JPEG is quite possibly the best type of image file for a website. These images are already compressed but can be compressed even more if needed.
Although artists tend to avoid JPEGs because they’re difficult to manipulate, they make for great website imagery. Just remember to watch out for the quality deteriorating when compressing.
GIF
These are small animated images. The GIF has a smaller color palette, so you’ll want to avoid using them unless you require repetitive movement on your site.
These are great for short tutorials on navigating a site or quick animations that catch the users eye.
PNG
When you compress a PNG file, you won’t see a loss in quality. However, this means a larger file size in the end.
If you need an image to really stand out, this a good choice due to the high resolution. But use them with caution and only when absolutely necessary. They may end up slowing down the load time.
WebP
This image format was created by Google and is still unfamiliar to many people. In this format, an image can get compressed smaller than JPEGs and the quality doesn’t suffer.
The reason this format hasn’t taken off yet is that many browsers aren’t supporting it. But keep your eye out for this format in the future.
Keep Pixel Size to a Minimum
Along with decreasing the number of bytes in an image file, the pixel size should be kept as low as possible. Too many pixels could be a bad thing for load times.
The first thing you should do is determine how many pixels will display an image at good quality. Some browsers will automatically downsize images to the most appropriate pixel size.
Some development tools like Chrome DevTools allow you to hover over an image to see its natural size. This is the size of the image at the time of upload. Alongside it will be the size that it’s displaying in the browser.
If there’s a big difference between natural and display sizes, this means the browser is having to do extra work, meaning slower load times. Keeping the pixel size as low as possible without hurting the quality will help avoid this problem.
How to Compress Pictures with Photoshop
The way you save your image may not seem like a big deal, but it matters when learning how to compress pictures properly. As you know, larger file sizes take longer to load and slow down a site. Saving them correctly helps with this problem.
If you have Photoshop, this is a great way to compress your images. It comes with “Save for Web” functionality that decreases file size and puts the quality control in your hands.
Before you save for the web, be sure to view the image at 100% in Photoshop. This is the exact size it will display on the website.
After you’ve chosen your image and you’re ready to save, choose the “Save for Web” button under the file tab.
When doing this, you’ll be able to choose the quality of the exported image. This may take some experimenting, but setting the quality to around 60 usually works great for reducing megabytes without disturbing the quality.
Using Compression Software
If you don’t have Photoshop, not to worry. You’ll simply need to find image compression software. Remember, when learning how to compress pictures, let the software do the work.
There are a number of good compression software providers out there. Some work directly from the web and you simply upload your image to their site for compression. Others are available for download to your machine.
Make sure you check out the guidelines for each one before making a decision. Some have limits on file size and others take a long time to compress. If you’re able to, purchasing software will give you more freedom.
Final Thoughts
Always remember that experimentation is your friend. Depending on the software you use and the end result you’re seeking, your technique may be a little different.
The tips above serve as a foundation for getting started with learning how to compress pictures. If done correctly, you’ll see a marked improvement in load times and site performance.
If you need additional help with preventing downtime with monitoring services, SiteUptime can help. Contact us today.