Is it possible to host a website on a server you build yourself?
You might be surprised to find that the answer is yes. You can host your site on your very own server! All you need is to know the right steps for building a server on your own.
This can be an excellent option for web hosting. In this essential guide, we’ll walk you through what you need to know before you can start building a server. Read on to learn more!
Why Build a Server?
Is building a server really worth it? Many people think so. Here are a few of the top reasons why you might want to build your own server.
1. Take Control of Your Data
If you use the internet, you likely have information stored on many different sites and servers already.
For example, you might use an online service to store your documents and photos. Or you might have a website filled with amazing content that you paid top-dollar for (if you’re looking for great content writing services, check out Cabinet de Traduction).
This can be convenient, but when your files are stored on someone else’s server, this means that they ultimately control the data you have stored there. Even though you can use encryption to protect the contents of that data, it’s still stored in the same place.
When you set up a server of your own, you have complete control over the data you store there. You won’t need to worry about it becoming lost or inaccessible. No one will be able to access your data without your permission.
2. Create Your Own Services
Not only can you control your data and information, but you can do anything else you want with your own server, too. For example, you could also take control over your email by running your own email server.
If you need services that you can’t find anywhere, you can build them yourself on your personal server. The sky really is the limit!
3. Avoid Surprises
Taking control of your server means you can avoid unpleasant surprises. The worst that could happen is a hardware failure, but this is rare (still, you should back up your data just in case). However, this can also happen with any server.
However, aside from that, nothing can possibly change unexpectedly because you’re in charge of everything. If you use a third-party service, they can change the way their service or product operates without warning.
Avoid these unexpected setbacks by creating a server that you, and only you, can control.
4. Have Fun Building a Server
One of the best parts of building a server is that it can be fun. You can add whatever you want, including the game servers you’ve always dreamed of.
On these game servers, you can actually host your own games, creating unique customizations and rules.
5. Don’t Spend Too Much
It actually doesn’t cost very much at all to build and run your own server. You likely won’t need to run it all day every day, which helps reduce costs further.
You can use your standard internet connection to run your server in most cases. The software you’ll need will usually be free, and you can use the free Linux operating system. The only thing you’ll really be paying for is the electricity to run it.
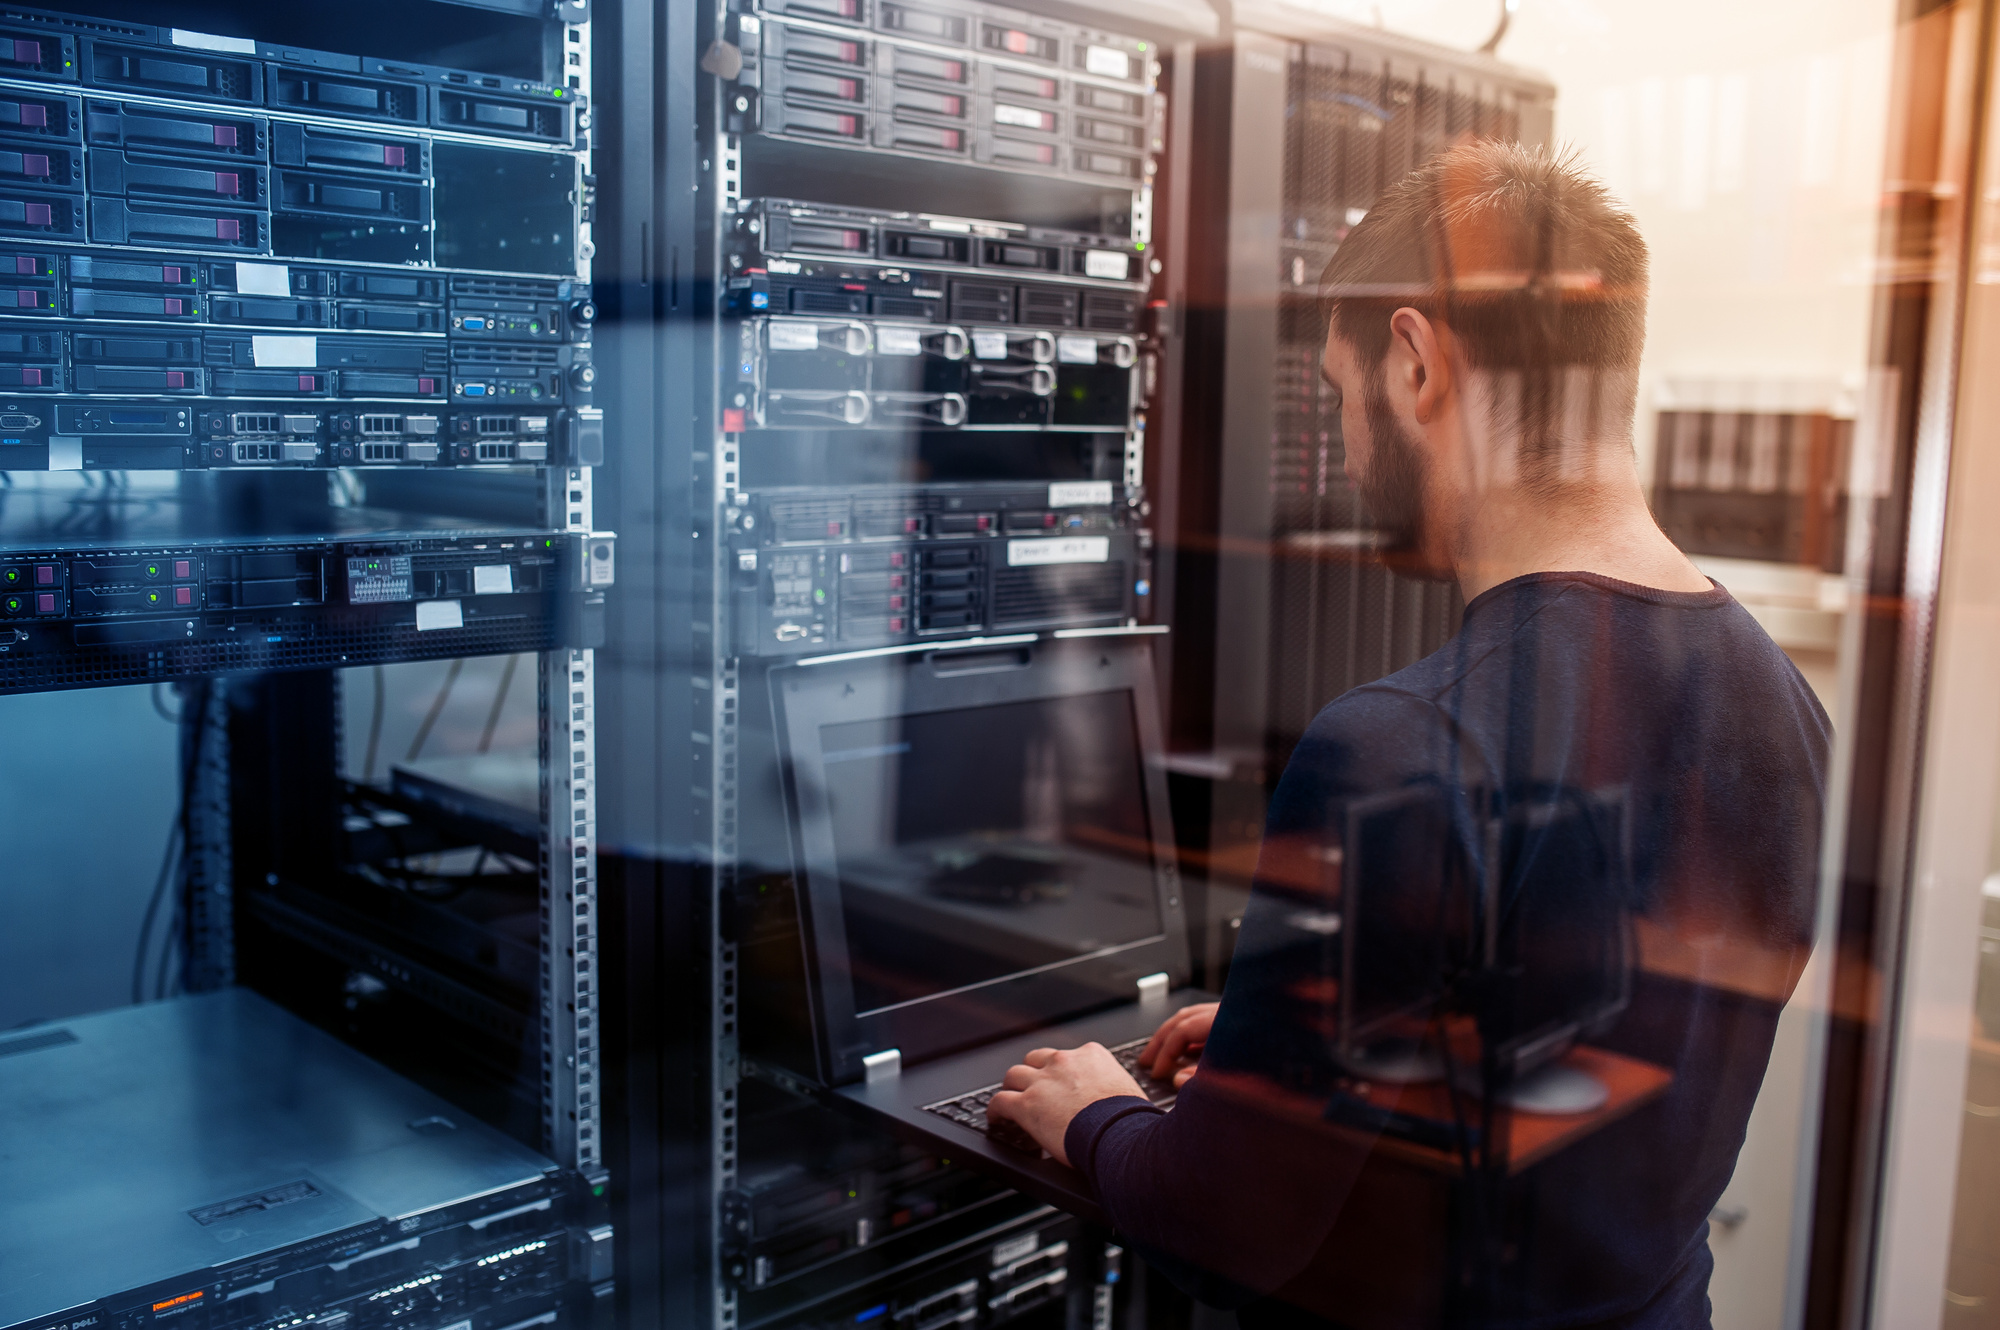
Steps to Building a Server
Now, let’s take a look at the steps to follow to actually build your own server.
1. Pick the Server Type
First, you’ll need to decide what kind of server you want to build. You can often use the computer you already have to run the server. However, if you intend to use it to host something elaborate like self-hosting for a business or hosting a group of gamer, you may need a separate CPU.
In addition to the CPU, you’ll also need to get some other things:
- Motherboard
- Hard drive
- RAM
- Video card
- Optical drive
- Tower/case
- Mouse/keyboard
- Monitor
- Operating system
- Internet connection
2. Assembly
Now, it’s time to put the server together.
- Make sure you’re physically grounded, otherwise static could hurt the parts of your server. Wear shoes with a rubber sole, or stand on a surface that isn’t carpet.
- Put the pieces out on a hard surface.
- Insert the processor to the motherboard, and install the fan over it.
- Open up the RAM slots and put the memory inside. Push it down until it clicks into place.
- Put the case on its side and insert the power supply.
- Add the motherboard to the case. Screw it in – don’t forget the screw in the middle of the motherboard, too.
- Put the optical drive in the case, along with the hard drive. Use screws to hold them in place.
- Connect the hard drive and optical drive cables to the motherboard.
- Connect the power from the power supply to the unit, and connect the small power cord to the fan on the motherboard.
- Double-check that all the parts are connected correctly. Shut the case and connect your server to power. Remember to plug in the keyboard, monitor, and mouse. Now, you’re ready to power up your new server!
3. Install the OS
Now, it’s time for the operating system.
Choose the system you want to use, and install the disc. Follow the instructions on the disc, choosing “Basic Server Install” when prompted.
Once the files have loaded and unpacked, the disc should give you a “configure the Network” prompt. You can give your server a name at this point.
Set up your password and username – don’t forget to write them down so you don’t forget. Choose the option to automatically install security updates. Other specific prompts will depend on the operating system you choose.
Use Your New Server
Now that setup is complete, your server is pretty much ready to go.
You’ll also need to set up a static IP address, so your server can be hosted at the same address, instead of one that changes periodically. Load the files you want to use, and consider investing in some monitoring software to keep your server running smoothly.
Looking for a great monitoring service for your server? We can help – contact us today.